Setting Up Opencast Studio
Installation
To add Opencast Studio to your Esup-Pod instance, follow these steps:
- Retrieve the Opencast Studio sources using the following command:
git clone https://github.com/elan-ev/opencast-studio/
- Create the Opencast Studio with the appropriate configuration for Pod using the following commands:
cd opencast-studio/
export PUBLIC_PATH=/studio
npm install
npm run build:release
- A
builddirectory is then generated. Rename thisbuilddirectory tostudio, then copy it to thepod/custom/static/opencast/directory
mkdir -p pod/custom/static/opencast/studio
cp -r build/* pod/custom/static/opencast/studio
- Finally, do not forget to collect your static files for production using the following command:
(django_pod4) [userpod@video][/data/www/userpod/django_projects/podv4] python manage.py collectstatic
The generation of Opencast Studio can be done on another server. Pod only needs the build directory, renamed to studio, and placed in the pod/custom/static/opencast subdirectory.
It is essential that the server is configured in HTTPS (and not in HTTP) for Opencast Studio to function.
Configuration and Prerequisites
Configuration
In your custom/settings-local.py, the following parameters concern the use of Opencast Studio:
| Property | Description | Default Value |
|---|---|---|
| USE_OPENCAST_STUDIO | Enable Opencast Studio recorder | False |
| OPENCAST_FILES_DIR | Working directory for files generated by Opencast Studio (will be accessible in the media) | "opencast-files" |
| ENCODE_STUDIO | Function called to start encoding intermediate studio videos | "start_encode_studio" |
| OPENCAST_DEFAULT_PRESENTER | Parameter to set the default behavior when recording the camera and screen (modifiable by the user). Possible values: mid: Same size for screen and camera, piph: Pip - camera inside the screen video at the top right, pipb: Pip - camera inside the screen video at the bottom right |
"mid" |
| FFMPEG_STUDIO_COMMAND | Ffmpeg command used to encode studio videos | see note below |
Remember to check the version of ffmpeg used by the encoding server. If it is version 5 or higher, you need to override the FFMPEG_STUDIO_COMMAND parameter in your custom/settings-local.py with:
FFMPEG_STUDIO_COMMAND = (
    " -hide_banner -threads %(nb_threads)s %(input)s %(subtime)s"
    + " -c:a aac -ar 48000 -c:v h264 -profile:v high -pix_fmt yuv420p"
    + " -crf %(crf)s -sc_threshold 0 -force_key_frames"
    + ' "expr:gte(t,n_forced*1)" -max_muxing_queue_size 4000 '
)
By default, encoding uses the -deinterlace option, which has been removed since version 5 of ffmpeg.
Prerequisites
It is also necessary to create, via the administration interface, a new Recorder of type Studio:
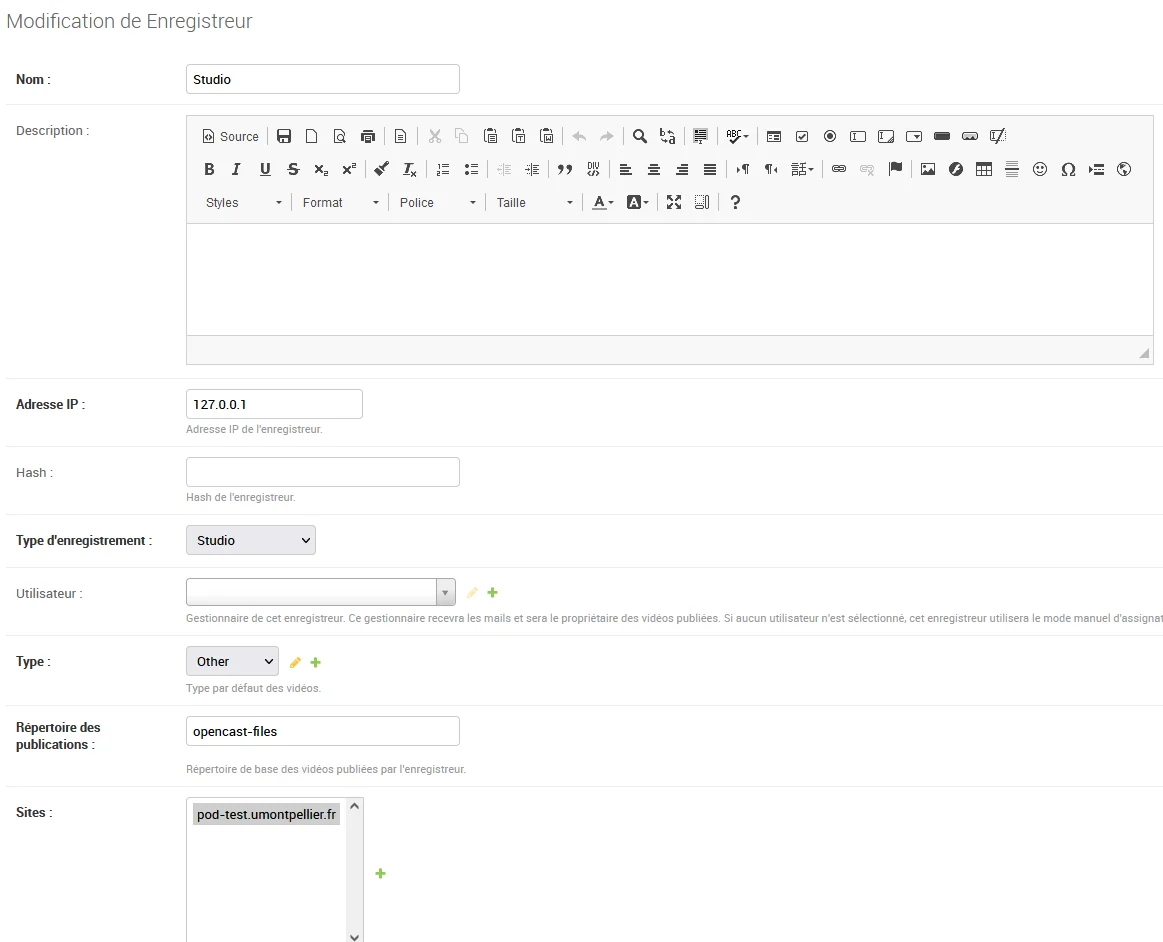
It is essential that this recorder has the recording type Studio; for the publication directory, use opencast-files, or at least the value configured in the OPENCAST_FILES_DIR parameter.
You can perform this creation via the command line if you wish:
(django_pod4) [userpod@video][/data/www/userpod/django_projects/podv4] echo "from pod.recorder.models import Recorder; from pod.video.models import Type; type=Type.objects.get(pk=1); rec=Recorder.objects.create(name='Studio', address_ip='127.0.0.1', recording_type='studio', type=type)" | python manage.py shell
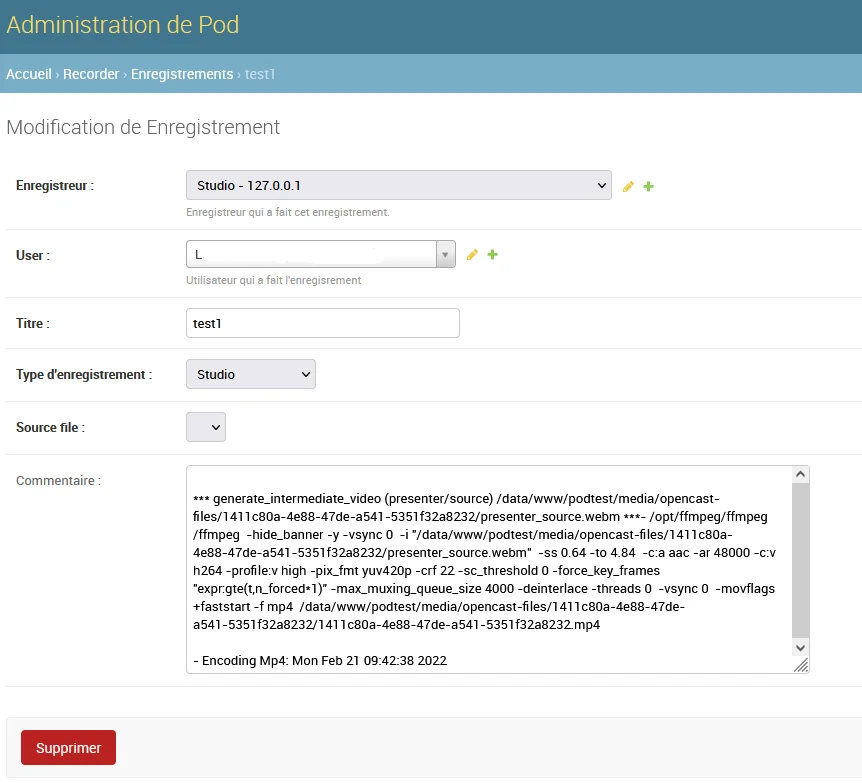
Operation
Opencast Studio files are generated in the /media/opencast-files/ directory, and everything is logged in the Pod administration interface.
Indeed, it is possible to find the recordings made by users via the Recorder / Recording module for the defined Studio type recorder: